Last updated: 2025-09-19
Integrations - MoneyGuidePro
Overview
The MoneyGuidePro integration for SmartOffice exports data from SmartOffice into the MoneyGuidePro™ financial planning application, saving advisors and their staff time when creating financial plans for their clients.
For more information about MoneyGuidePro application, visit the MoneyGuidePro website.
 Watch the MoneyGuidePro Training Class
Requirements
- MoneyGuidePro account
- Broker-dealer's institution ID (provided by MoneyGuidePro)
Setup
User Setup
The MoneyGuidePro integration is available to all SmartOffice users. However, to use the integration, a SmartOffice user must have the MoneyGuidePro license enabled for his/her user account. A user with administrator rights must enable this license for the user in User Accounts - User Rights.
Optionally, the administrator can also enable the Policy Tracking and/or Investment Tracking licenses for the user’s account. These licenses are required only if the user will be exporting policy and investment data from SmartOffice into MoneyGuidePro.
Data Setup
Before creating financial plans using MoneyGuidePro directly from SmartOffice, verify the following:
- Demographic data has been entered for each client contact in SmartOffice.
- A primary advisor is specified for each client contact in SmartOffice.
- A household record has been created and linked to each client contact in SmartOffice.
- Demographic data has been entered for all household members, such as spouse and children, in SmartOffice.
- The client's and spouse's policies and investments have been downloaded or entered in SmartOffice.
- The user’s SmartOffice user account is linked to an advisor record (using the Contact Record for this User field on the User Accounts - Detail content link).
In addition, ensure that client data is entered in the appropriate SmartOffice fields; otherwise, data will be transferred to MoneyGuidePro inconsistently. The following sections list the fields in SmartOffice and their corresponding MoneyGuidePro fields.
Contact Fields
These fields apply to client, spouse and participant contact records in SmartOffice. A spouse is any household member listed as spouse, husband, wife or domestic partner contact. A participant is any member listed as child, daughter, son, stepdaughter or stepson.
| SmartOffice Fields | Comments | MoneyGuidePro Fields | ||
|---|---|---|---|---|
| Personal content link | Client | Spouse | Participants | |
| First Name | First Name | First Name | Name | |
| Last Name | Last Name | Last Name | Name | |
| Birth Date | Date of Birth | Date of Birth | Date of Birth | |
| Gender | Gender | Gender | Gender | |
| Marital Status | Marital Status | |||
| Make sure to select the Preferred option. | E-mail Address |
Investment Fields
Active investments held by the client, spouse and jointly are transferred to MoneyGuidePro. Tip: Make sure the accounts are validated for the household before opening the MoneyGuidePro integration.
| SmartOffice Fields | Comments | MoneyGuidePro Fields |
|---|---|---|
| Accounts | Investment Assets | |
| Account Name | Description | |
| Account \# | ||
| How Held/Owner | Type | |
| Net Value | Value | |
| Interested Parties | Role with primary contact or owner | Owner |
| Positions | Product Summary | |
| Investment Name | Name of Investment | |
| Holding Type | Type of Product | |
| Symbol | Ticker | |
| CUSIP | CUSIP | |
| Current Value | Value | |
| Cost (Total) | Total of all positions | Total Plan Value |
Policy Fields
Policies owned by the client and spouse can be transferred to MoneyGuidePro. Note that only annuity, fixed annuity, variable universal life, term life, whole life and universal life policies are transferred.
| SmartOffice Fields | Comments | MoneyGuidePro Fields |
|---|---|---|
| Policy | Insurance Policies | |
| Description | Carrier Name and Plan Name | Description |
| Plan Type | Type | |
| Owner of Policy | Contact in Policy Relationship List with Role set to Owner | Owner |
| Annlzd Prem | Annualized Premium | Premium Amount |
| Cash Value | Noted on Benefits content link | Current Cash Value |
| Net Death Benefit or Total Death Benefit | Noted on Benefits content link | Death Benefit |
Advisor Fields
The following information from the advisor’s SmartOffice record is included in the financial plan.
| SmartOffice Fields | Comments | MoneyGuidePro Fields |
|---|---|---|
| Personal content link | User Profile | |
| First Name | First Name | |
| Last Name | Last Name | |
| Primary Business Address | ||
| Address Block | Make sure to select the Primary Business Address option. | Address |
| City | City | |
| State | State | |
| ZIP Code | Zip | |
| Primary Business Phone Number | Make sure to select the Primary Business Phone option. | Phone |
| Primary Business Phone Extension | ||
| Preferred E-mail Address | Make sure to select the Preferred option. |
Using the Integration
Once all of the data is entered in the appropriate fields in SmartOffice, the user can start creating a financial plan.
- In SmartOffice, search for the appropriate contact or household, and then select or open it.
- Select Menu > Integrations > MoneyGuidePro.
- Enter the broker-dealer’s institution ID, and then click the OK button.
(Optional) Select the Do not show this again option to skip this step in the future.
- If this is the user's first time using MoneyGuidePro from SmartOffice, the MoneyGuidePro login page opens.
- Log in to MoneyGuidePro.
- If the selected contact/head of household exists in MoneyGuidePro, MoneyGuidePro asks whether the client's information should be updated using SmartOffice data. Select the appropriate response. Note that SmartOffice updates current policy and investment data in MoneyGuidePro but does not delete old policy and investment data from MoneyGuidePro.
- MoneyGuidePro opens the My Plans page for the selected client.
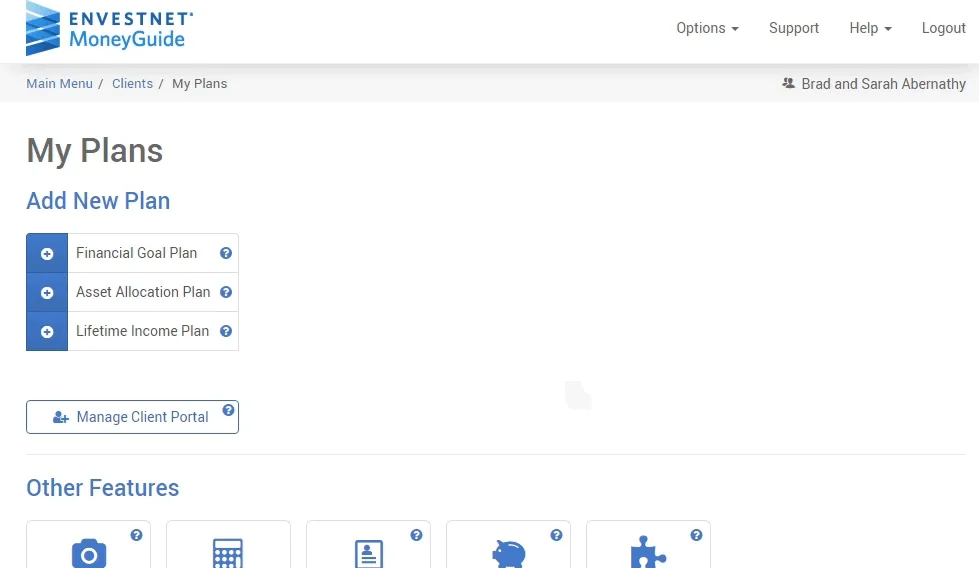
- Click the Financial Goal Plan button to begin creating a plan.
- In the Conversation dialog box, select an appropriate option (e.g., Retirement) from the drop-down list.
- Click the Done button to display the demographic information about the client (and his/her spouse and children) that was transferred from SmartOffice.
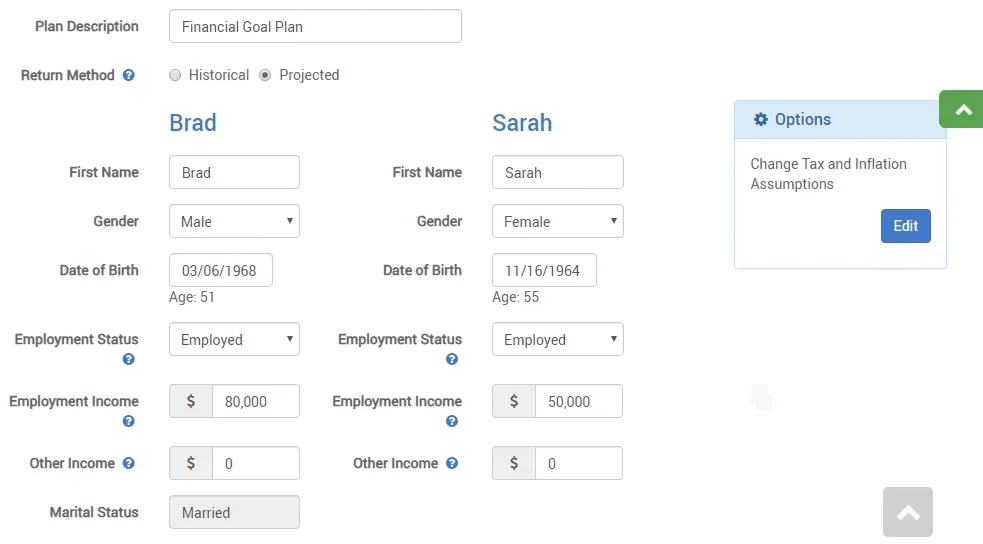
- Fill in any missing information, and then click the Next button near the bottom of the page hyperlink in the left menu to proceed with plan creation.
- Follow the instructions on your screen to complete the financial plan.