Last updated: 2025-09-19
SmartRecruiting - Creating and Importing Candidates
Overview
Once positions have been created in SmartRecruiting Setup, candidates can be created manually or imported from an external file.
Creating a Candidate Manually

- Click the Add New button and select Candidate to open the Select Candidate Status dialog box.
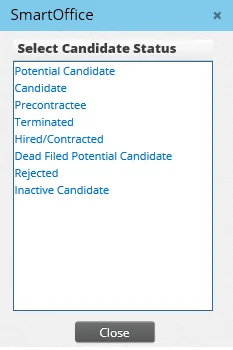
- Select a status (normally, this should be Candidate).
- Complete the fields for the new candidate record (see Searching and Viewing Candidates for descriptions of these fields). Note that a position must be specified in the Status Information section.
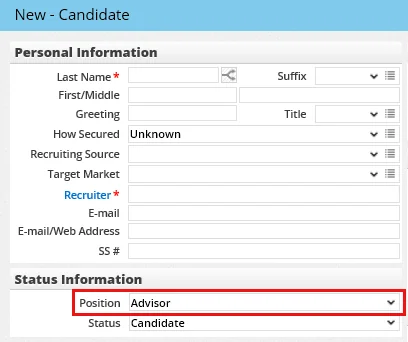
- Click the Save & Close button, or click the Save & New button to create another candidate.
The candidate is automatically placed in the first stage of the position when added.
Tip: The user can also create a candidate by clicking the New button in the Search Candidates/Recruits dialog box. See Searching and Viewing Candidates.
Importing Candidates
Candidates can be imported into SmartOffice from a comma-separated values (CSV) file. Generally speaking, the import process creates a new candidate record in SmartOffice regardless of whether an existing SmartOffice record with the same first and last names already exists. The exception is when the existing record has the same birth date as the import file record, in which case no new record is created in SmartOffice.
- From the SmartOffice side menu, select Utilities > Data Import Wizard to open the Import Setup List.
- Select Menu > New 'Import Setup' record to open the Add Import Definition dialog box.
- In the Enter Setup Name field, type a name for the import setup. This name will display in the Import Setup List the next time the user accesses the Data Import feature, enabling the user to perform subsequent candidate imports more quickly.
- From the Select the type of records to be imported drop-down list, select Candidate Import.
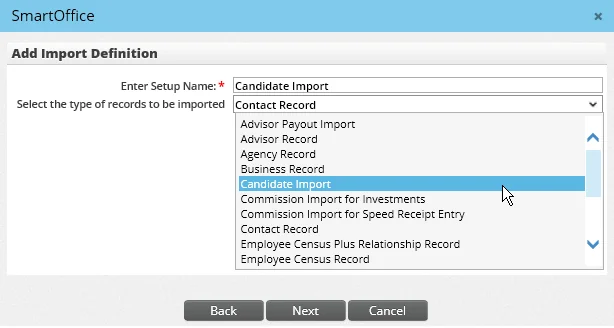
- Click the Next button.
- Navigate through the wizard, selecting the import file and configuring import settings. For help with these settings, see Data Import - Import Process.
- On the Select Options step, note the Candidate Details section.
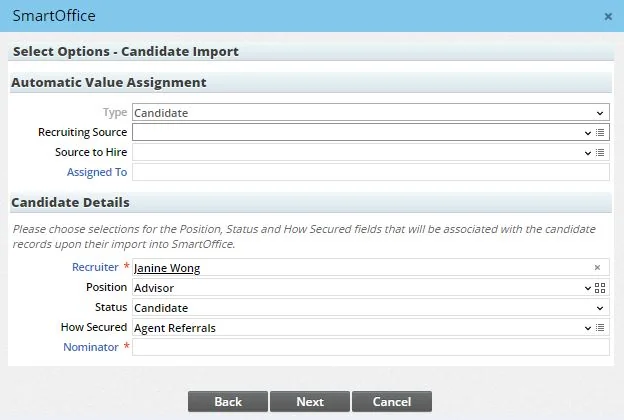
- Enter information about the recruiter, position, status and how the candidate was secured. Based on the selection in the How Secured drop-down list, the Nominator field may need to be completed as well. See Searching and Viewing Candidates for more information about these options. When all selections have been made, click the Next button.
- Click the Next button and follow the remaining wizard steps to complete the import process. For help with the remaining steps, see Data Import - Import Process.
SmartOffice saves the mappings as an import setup for future use. To run an import from a saved import setup, open the Data Import Wizard and select the applicable setup. The wizard runs as it does for a new import, but all of the options are already selected. The user can changes these selections or run the import using the saved options.