Last updated: 2025-09-19
Contacts and Businesses - Adding a Contact Photo
Overview
Adding a photo to a contact or business record can help SmartOffice users identify and familiarize themselves with clients, vendors and other people with whom the organization does business. Photos can also be added to advisor and agency records.
 or Maximize Photo
  button.
The photo also displays in the Information Card that displays when the user points to a contact or business in a list. Images must be uploaded individually.
Supported Image Formats
SmartOffice supports the following image formats for photos:
- JPEG
- GIF
- PNG
- BMP
Adding or Replacing a Photo
button if the photo or placeholder image is not visible.
- Open a contact or business record.
- In the lower-left corner of SmartOffice, click the Maximize Photo
- Point to the photo or placeholder image, and then click the Add Photo button.
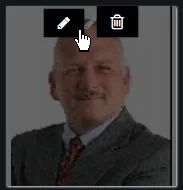
The Upload Photo dialog box opens.
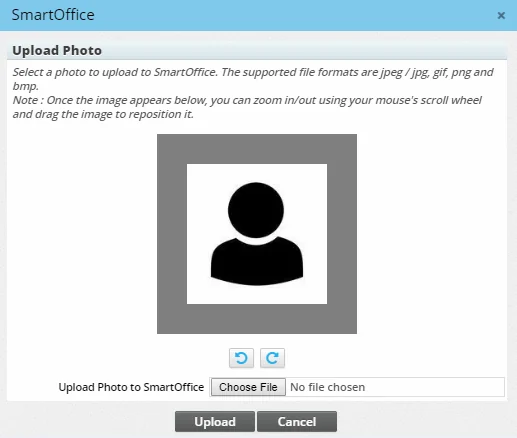
- Click the Choose File button, and then locate and select a photo on your computer. A preview of the image displays.
- If the image is rotated incorrectly, click the left and right rotation buttons to rotate the image.
- Adjust the image so that the portion you want to display in SmartOffice appears within the center square:
- Drag the image to reposition it.
- Use the mouse scroll button to zoom in and out.
- When the preview image is satisfactory, click the Upload button.
SmartOffice automatically compresses the image to save storage space and to enable SmartOffice to operate more efficiently.
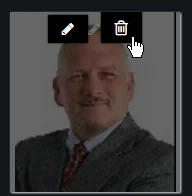
Deleting a Photo
To remove a contact or business photo, point to the photo, and then click the Delete Photo button.