Last updated: 2025-09-19
Integrations - Docupace
- Overview
- Requirements
- Setup
- SmartOffice Setup
- Docupace Setup
- Using the Integration
- Accessing a Docupace Client Folder from SmartOffice
- Prefilling Forms in Docupace
- Opening Completed Docupace Forms from SmartOffice
- Contact Fields Exported from SmartOffice
Overview
The Docupace integration allows SmartOffice users to access and exchange data with Docupace's document management solutions. Specifically, this integration allows users to:
- Access Docupace from SmartOffice without having to sign in to Docupace.
- Navigate to client folders in Docupace directly from SmartOffice.
- Prefill forms in Docupace Quick Start (formerly Docupace Starting Point) using SmartOffice contact data.
- Open client documents stored in Docupace directly from SmartOffice.
For more information about Docupace, visit the Docupace website.
Requirements
- Docupace account (Docupace Quick Start required for certain features)
Note: The integration is compatible with Docupace core version 22\.7 or later, app version 4\.33 or later. Docupace users can find their version information at the bottom of the Docupace login page.
Setup
SmartOffice Setup
User Setup
A user with administrator rights must enable the appropriate licenses for each user who wants to use the integration (for more information, see User Accounts - User Rights Content Link). A user can have one or both licenses, depending on the features the user needs to access.
- Docupace Client Folder: This license allows the user to access clients' Docupace folders directly from SmartOffice.
- Docupace ePACS: This license allows the user to export SmartOffice contact data to Docupace Quick Start for form filling.
Data Setup
Contact records in SmartOffice must have a first name, last name and Social Security number before they can be used with this integration. Business records must have a business name and Tax ID. Ensure that all contact and business records in SmartOffice have this information.
Docupace Setup
As you begin using the integration as described in the following sections, you may encounter the Docupace Setup page.
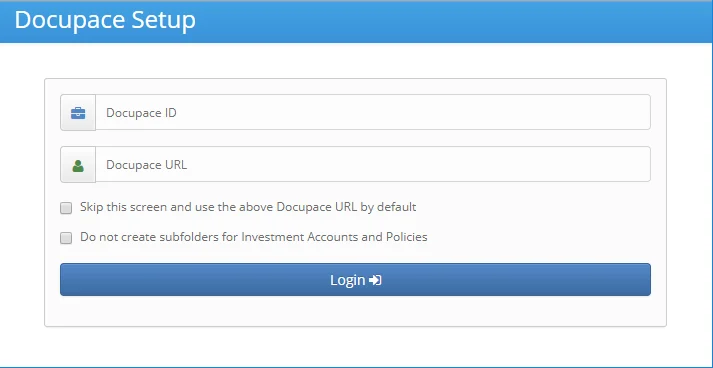
Complete the setup page as follows:
- Docupace ID: This is the user name you normally use to log in to Docupace. If you don't know this information, contact your broker-dealer or Docupace.
- Docupace URL: To get the correct URL for this field, take the web address you normally use to access Docupace (example: https://www2\.paperout.com/example\_ui) and replace the "\_ui" portion at the end with a forward slash (example: https://www2\.paperout.com/example/). For additional help, contact SmartOffice Technical Support.
- Skip this screen and use the above Docupace URL by default: Select this option to bypass the Docupace Setup page the next time you use the integration.
Important: Leave this option unchecked if you are entering your Docupace ID and Docupace URL for the first time. If you select this option enter your Docupace ID or URL incorrectly, you will have to contact SmartOffice Technical Support to correct the issue. It is recommended that you select this option only after you have successfully accessed Docupace from SmartOffice at least once.
- Do not create subfolders for investment accounts and policies option: By default, SmartOffice creates subfolders in a client's Docupace client folder for investment accounts and policies. To prevent this, select this option.
Using the Integration
Accessing a Docupace Client Folder from SmartOffice
You can open a client's Docupace folder directly from that client's SmartOffice contact record, investment account record or policy record. If a client folder does not exist for that contact in Docupace, SmartOffice automatically creates one.
- Search for a SmartOffice contact, business, investment account or policy.
- In the list of search results, select the record (or open the record).
- Select Menu > Integrations > Docupace Client Folder.
- If the Docupace Setup page appears, enter the requested information (for more information, see Docupace Setup).
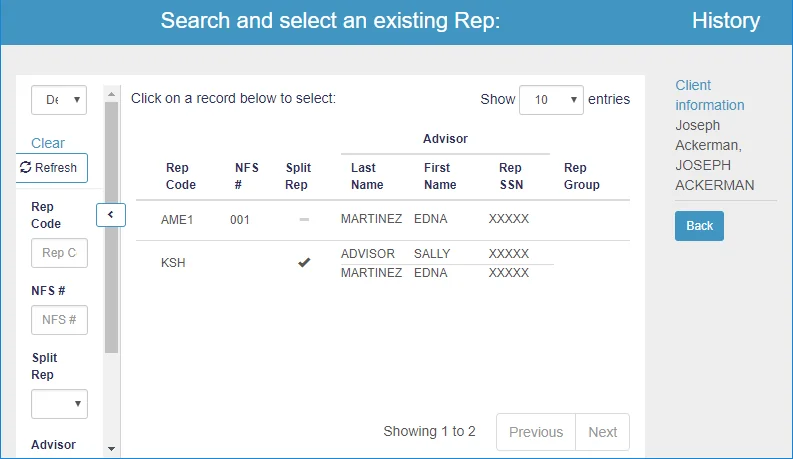
- If no client matching the SmartOffice contact is found in Docupace, the Docupace Rep List opens. Select the appropriate rep from the list.
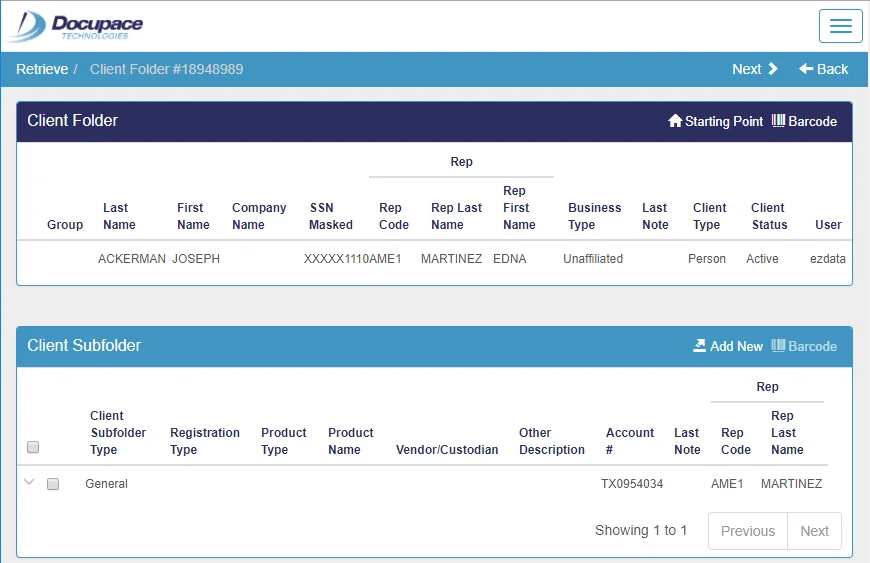
The Docupace client folder opens.
Prefilling Forms in Docupace
Follow these steps to export SmartOffice contact data into Docupace Quick Start for form filling.
- Search for a SmartOffice contact or business.
- In the list of search results, select the contact record (or open the record).
- Select Menu > Integrations > Docupace Quick Start.
- If the Docupace Setup page appears, enter the requested information (for more information, see Docupace Setup).
- If no client matching your SmartOffice contact is found in Docupace, the Docupace Rep List opens. Select the appropriate rep from the list.
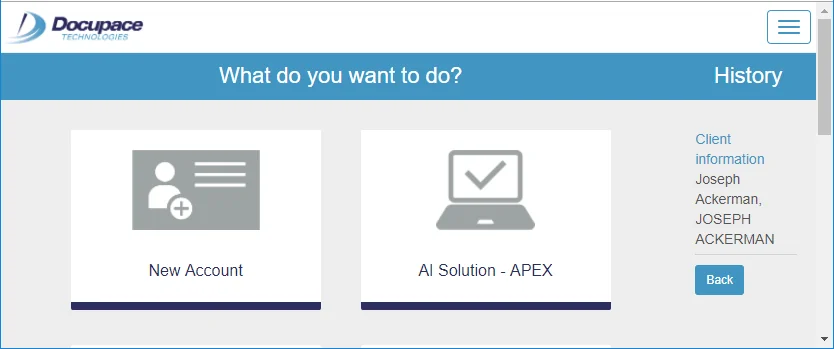
- When Docupace displays the list of available tasks, click the task you want to perform using your SmartOffice data.
- Proceed with your Docupace Quick Start workflow and create a new work item. Any forms will appear prefilled with data from the SmartOffice contact you selected.
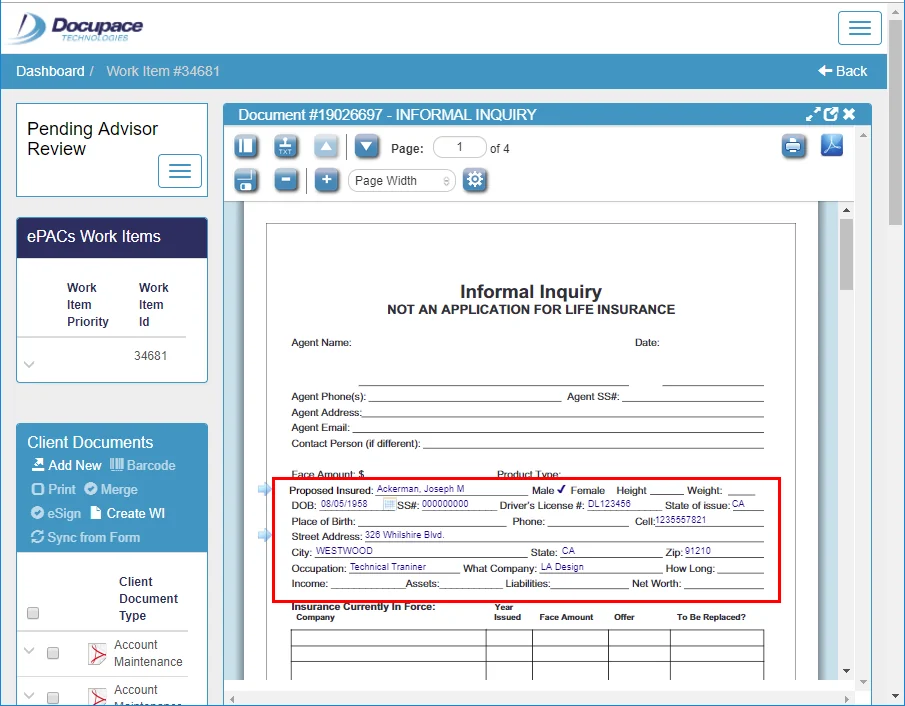
Opening Completed Docupace Forms from SmartOffice
When you complete a form in Docupace using data from SmartOffice , you can open those documents directly from the relevant SmartOffice contact record.
- Search for a SmartOffice contact or business, and then open the record's Letters/Documents content link.
- In the Document List, locate the Docupace form. One quick way to locate Docupace forms is to click the Docupace tab.
- Click the form's icon in the Open column.
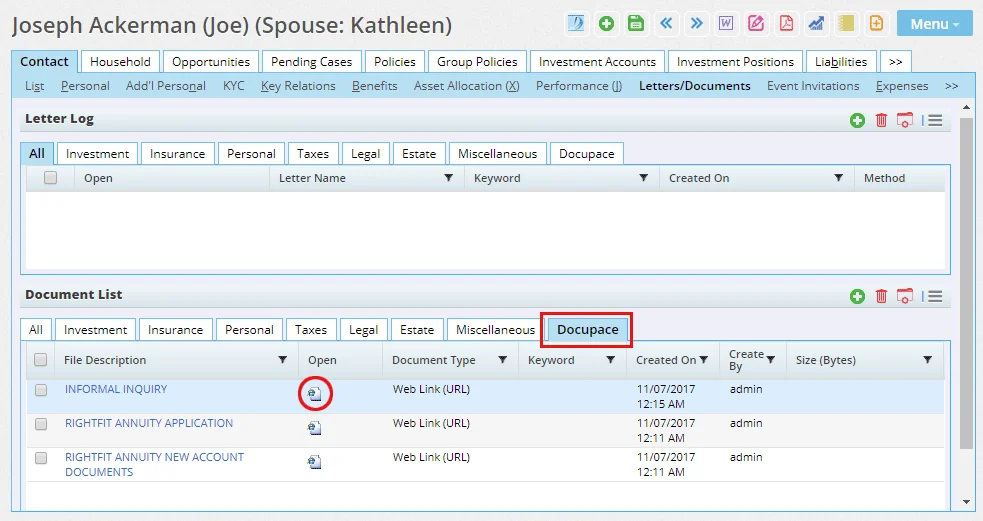
- If the Docupace Setup page appears, enter the requested information (for more information, see Docupace Setup).
Docupace opens and displays the selected form.
Contact Fields Exported from SmartOffice
The following table summarizes the SmartOffice contact fields that are exported to Docupace for form-filling. SmartOffice includes these contact types in the export:
- Household members
- Spouses
- Business primary contacts
- Insureds
| Contact Content Link | Section | Field | Notes |
|---|---|---|---|
| Personal | Personal Information | Type | First Name, Last Name and SS \#/Tax ID are required for the integration to work properly. |
| Title | |||
| First Name | |||
| Last Name | |||
| Middle | |||
| Suffix | |||
| Birth Date | |||
| SS \#/Tax ID | |||
| Gender | |||
| Marital Status | |||
| Business Information | Company | ||
| Job Title | |||
| Addresses | Address Block | These fields are exported for business, residence and mailing addresses. | |
| Address - Line 2 | |||
| Address - Line 3 | |||
| City | |||
| State | |||
| ZIP Code | |||
| Phone Numbers | Phone Type | These fields are exported for business, residence and fax numbers. | |
| Country Code | |||
| Area Code | |||
| Number | |||
| Extension | |||
| Mark as Preferred Phone | |||
| Add'l Personal | Miscellaneous Personal Information | Citizenship | |
| Birth Place | |||
| Tobacco Use | |||
| Net Worth | |||
| Total Income | |||
| Salary | |||
| Contact Identifications | Expiration Date | ||
| Issue Date | |||
| Driver's License \# | |||
| State |