Last updated: 2025-09-19
Integrations - Zoom
- Overview
- Requirements
- Setup
- User Setup
- Installing the Integration
- Using the Integration
- Scheduling a Meeting in SmartOffice
- Scheduling a Meeting in Zoom
- Tracking Completed Zoom Meetings in SmartOffice
- Uninstalling the Integration
- Getting Help
Overview
With the Zoom integration, SmartOffice users can track Zoom meetings in the SmartOffice calendar and save Zoom transcripts in the SmartOffice SmartPad. Users can also schedule Zoom meetings directly from SmartOffice.
For more information about Zoom, visit the Zoom website.
Requirements
- Zoom account: The integration works only with paid Zoom accounts.
Setup
User Setup
A SmartOffice administrator with the ability to assign licenses must enable the appropriate license for each SmartOffice user who will use the integration.
 .
.
- If you are setting up the integration for another user account, select Setup > User Accounts on the SmartOffice side menu, and then search for the user account.
- Sign in to SmartOffice Pro.
- Do one of the following:
- With the user account record open, click the User Rights content link.
- In the Licenses column, under Integration, select Zoom Integration.
- Select Menu > Save.
Installing the Integration
- In SmartOffice, select Integrations > Zoom in the side menu.
- Go directly to the Zoom App Marketplace and search for "SmartOffice." The SmartOffice page in the Zoom App Marketplace appears.
- Do one of the following:
- Find the Add button on the page. Note:
- If you see a Sign In to Add button instead of the Add button, select it, enter your Zoom login information, and then continue to the next step.
- If you see a Request to Add button instead of the Add button, select it. Then contact your organization's Zoom administrator about accepting your request. When you receive approval, the button will change to an Add button, and you can continue to the next step.
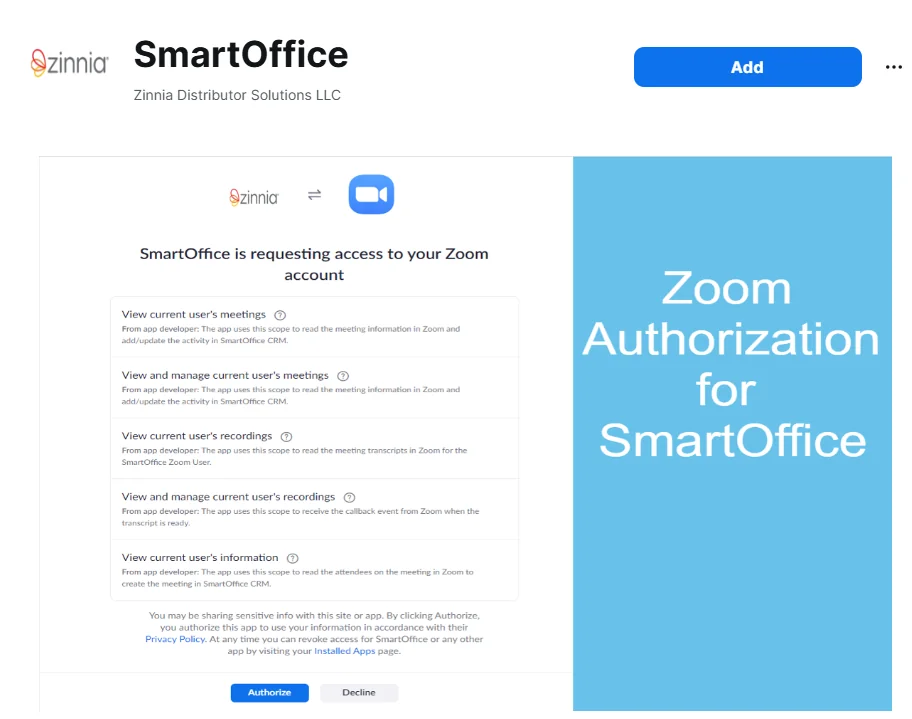
- Select the Add button.
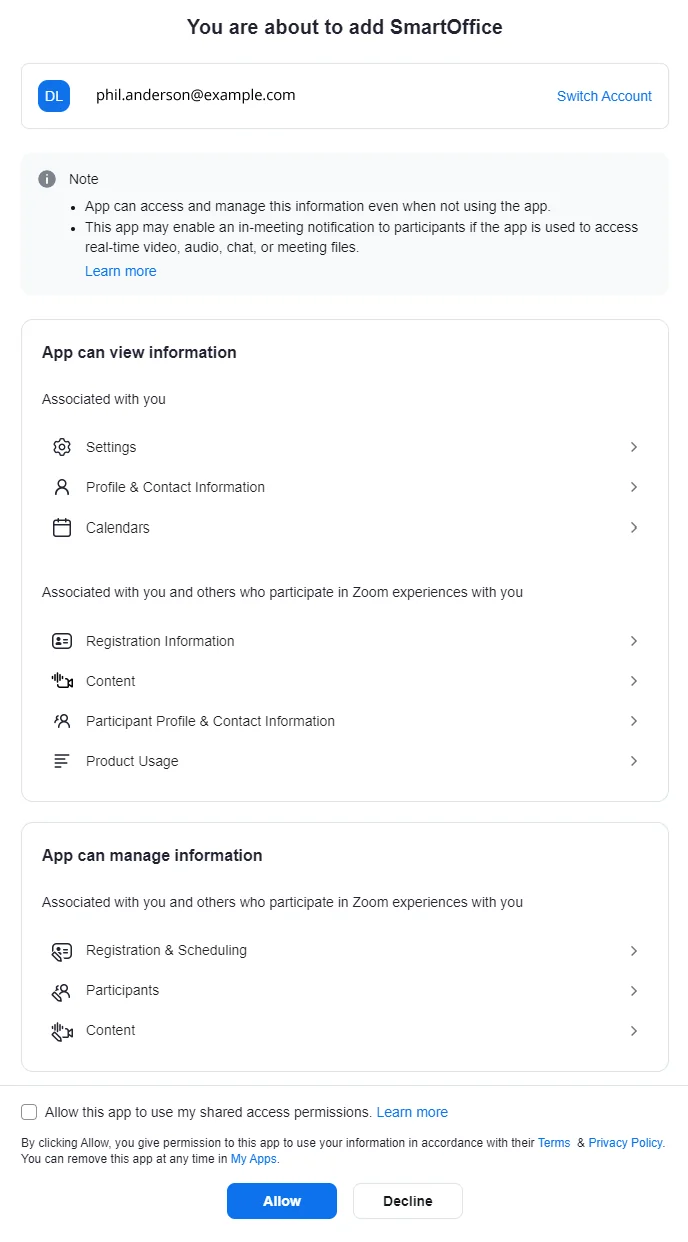
- When the Zoom access authorization page appears, approve the permissions at the bottom and select the Allow button.
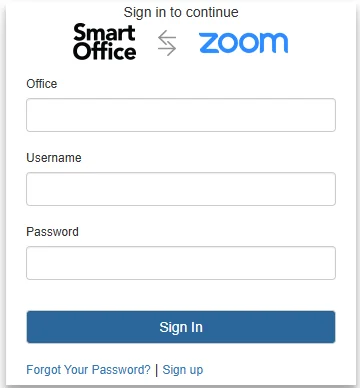
- When prompted, enter your SmartOffice office name, user name and password, and then select Sign In.
You should see a page telling you that Zoom and SmartOffice have been linked successfully. If an issue occurs, an error page with further instructions will appear.
- Using audio transcription for cloud recordings
- Enable the Cloud Recording and Audio Transcript features in your Zoom settings. For help, refer to these Zoom help articles:
Using the Integration
Scheduling a Meeting in SmartOffice
To schedule a Zoom meeting from SmartOffice, create an activity from the SmartOffice calendar, noting these additional steps:
- If you are using the Simple Add dialog box to create the activity, open the full Activity Detail dialog box by selecting Comprehensive.
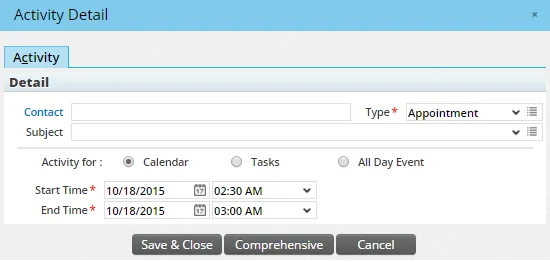
- At the bottom of the Activity Detail dialog box, select Options to expand that section, and then select Zoom from the Web Meeting menu.
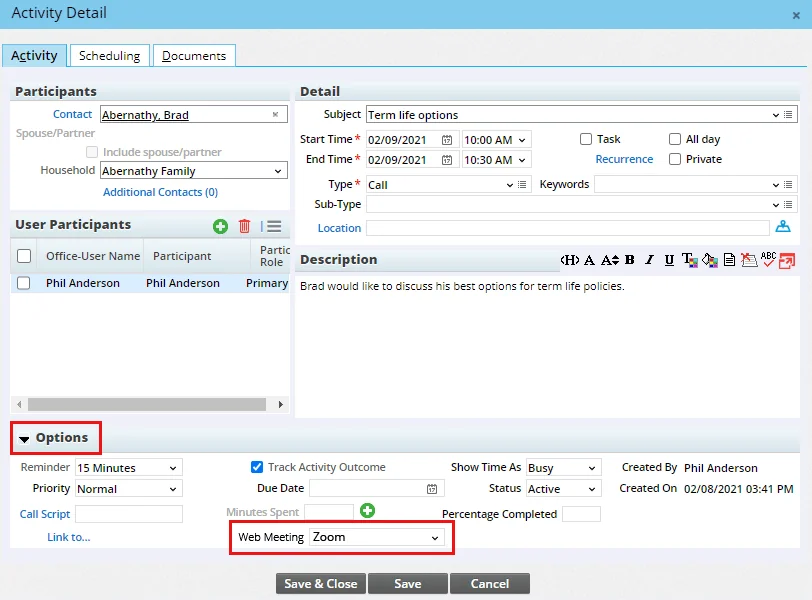
If the Zoom option does not appear and this is your first time using the Zoom integration, try signing out of SmartOffice and then signing in again. Note: The Web Meeting drop-down list is not available for untimed, recurring, or previously saved activities, or for activities created in areas of SmartOffice other than the calendar.
- Enter the remaining details of the activity, and then select Save & Close.
Once you save the activity, the following occurs automatically:
- SmartOffice adds details about the Zoom meeting, including the meeting link, meeting ID and call-in information, to the activity's Description field (if you already entered a description, the Zoom meeting information is appended after your description).
- SmartOffice creates the meeting in Zoom. You can sign in to the Zoom website or app to view it.
- If you change or delete the meeting in SmartOffice, those changes sync to Zoom.
Note: If you schedule a meeting in SmartOffice when a meeting with the same date, time and subject already exists in Zoom, a duplicate meeting is created in Zoom. Zoom does not check for duplicates during sync.
Scheduling a Meeting in Zoom
Schedule a meeting in Zoom as you normally would. The meeting will sync to SmartOffice, but only after the meeting ends (see the next section for details).
Tracking Completed Zoom Meetings in SmartOffice
If cloud recording is enabled for a Zoom meeting (for general Zoom help, refer to the Zoom support website), SmartOffice automatically does the following after the meeting ends:
- Creates a calendar activity: This occurs if no calendar activity with the same date, time and subject as the Zoom meeting exists in SmartOffice (i.e., if the meeting was scheduled and/or started in Zoom), In the Activity Detail dialog box, the start and end times reflect the actual start and end times of the Zoom meeting, not the scheduled start and end times. In addition, the meeting link is not included in the Description box.
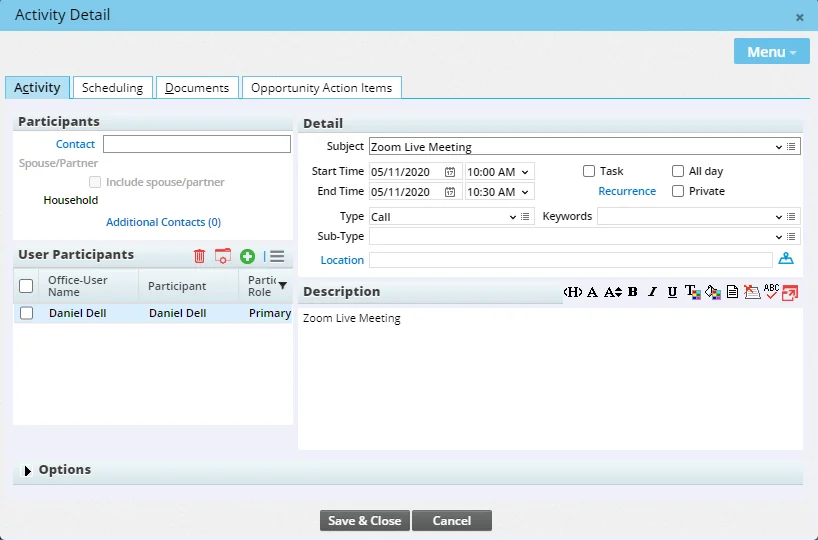
Under User Participants, SmartOffice also adds the SmartOffice user who created the Zoom meeting (to determine this user, SmartOffice looks for a match on the e-mail address of the Zoom meeting creator).
You can add more users to the participants list manually, if necessary. In addition, you can manually link the activity to the appropriate contact (by specifying the contact's name in the Contact field) and change the activity's status to Done (under Options) to track the outcome of the activity.
- Saves the meeting transcript to the SmartPad: SmartOffice saves the transcript as an activity note, which you can access from the Activity Detail dialog box by selecting Menu > View Activity Notes.
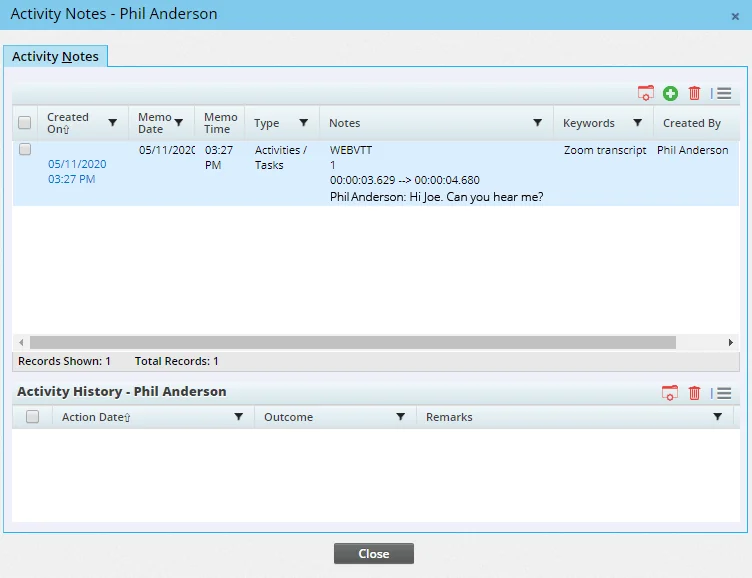
SmartOffice creates the note when the Zoom meeting ends (i.e., not if you leave the meeting before it ends). In addition, for longer meetings or during busy periods for Zoom, it may take a few minutes after the meeting ends for the note to appear in SmartOffice.
The transcript is also saved as a SmartPad note in your contact record.

- Sends an alert: You receive an notification in the Alert Center letting you know that the meeting has ended.

Uninstalling the Integration
- In SmartOffice, select Integrations > Zoom in the side menu.
- Go directly to the Zoom App Marketplace and search for "SmartOffice." The SmartOffice page in the Zoom App Marketplace opens.
.
- If you are uninstalling the integration for another user account, select Setup > User Accounts on the SmartOffice side menu, and then search for the user account.
- Do one of the following:
- Select the Manage link in the left navigation menu, and then select the Remove button.
- Accept any confirmation messages to complete the uninstall process.
- Sign in to SmartOffice Pro.
- Do one of the following:
- With the user account record open, click the User Rights content link.
- In the Licenses column, under Integration, clear the Zoom Integration check box.
- Select Menu > Save.
Getting Help
If you encounter any issues with this integration, contact SmartOffice Technical Support.